FAQ
Here are four common questions asked while taking photos of the Grand Canyon.

Any visitor to the monumental Grand Canyon will agree that this is one of those places in the world which you cannot describe through just words. But you, at the same time, cannot leave the spot without capturing its grandeur to share with others. And the best way to do this is by taking photos of beautiful places at the correct times, angles, and the right spots.
However, photographing the Grand Canyon and Colorado River is no piece of cake. You need to know where and how to get the best images. So to help you out, here are a few photography tips that will help you capture the majesty of the Grand Canyon in the best light.
First of all, while there are various types of trips in the Canyon, there are also special trips you can take if photography is your primary goal. These trips are offered each season and focused on photography. They usually come with a featured photography instructor who takes you to places with great visual options, offering the best light at the correct times.
The best season for capturing the grandeur of the Canyon is off-season, typically spring, fall, and winter. And the best times are in the early morning and late afternoon. While the monsoon lighting in July and August offers optimal photo opportunities, it is the peak tourism season. So you will need to have a little patience to get great captures.
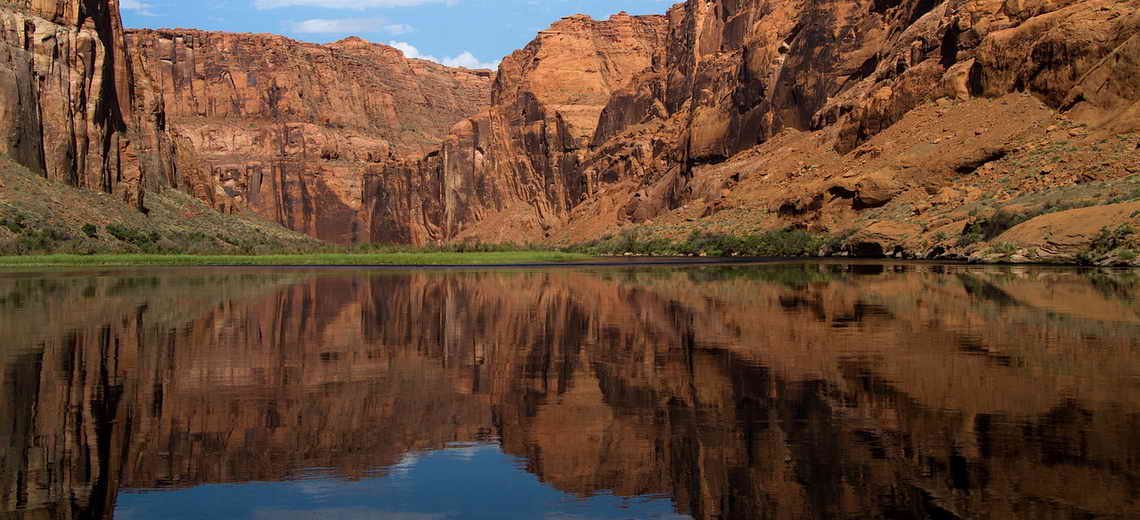
It's always better to choose different viewpoints to save the splendor of the Grand Canyon sunrise and sunset. Some spots offering the best shoots are a view of the Colorado River from Desert View, the Marble Canyon, walking to Yaki Point from Yavapai Point, Mather Point for pictures of the Canyon, and Maricopa Point to shoot rocky outcrops and river views.
And the best images are clicked are at the 'golden hour' of light, which is 30 minutes before and after the sun touches the horizon. This is when the beautiful panorama of lights is a sight to behold!

The different lighting conditions on the river make it rather challenging to get great images. You need to balance the extreme contrasts between the deeply shadowed area and sunlit walls. And the best way to do this is with the correct camera settings - graduated neutral-density (ND) filters or shooting a series of HDR exposures.
If you want to freeze the looks on people's faces while on their rafting trip, then try shooting with a telephoto lens pointing towards the front of the raft. However, taking photographs on the boat isn't to be taken lightly.
Remember, you can't turn the boat around to go back upstream if you miss something. You have to be ready with your camera because you never know what situations you will face. That's why it is better to try a few experiments with slow exposure to get the suitable motion while in a rapid.
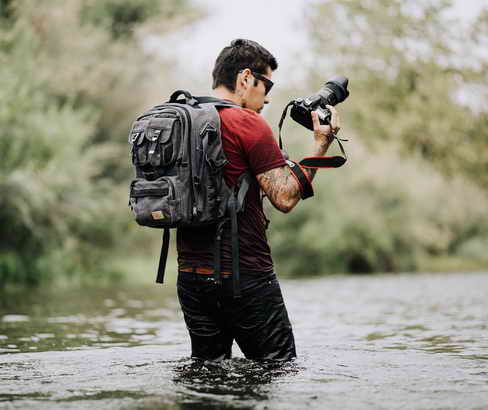
And yes, it goes without saying that you need to get your waterproof camera out and wear tights when photographing the Colorado River!

Here is some valuable advice and tips for clicking photographs of the rapids and the Grand Canyon National Park.
You will want to get a snapshot of so much movement, like the movement of wildlife, the majestic rapids, and you all in motion. However, the trick lies in using slow shutter speeds when it comes to snapping action, like the California Condor in flight. They are perfect for getting snapshots of movement.
And always use the shutter priority mode for cameras. The shutter speed adjuster automatically changes as the camera adjusts its aperture to get the correct exposure.

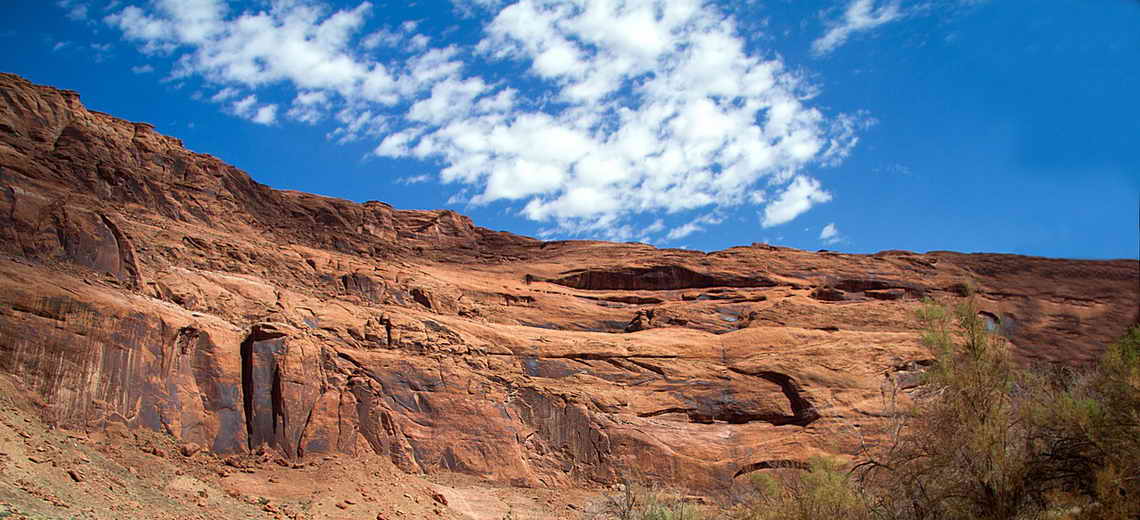
The Grand Canyon offers extensive sceneries, like captures of the canyon walls and Colorado River, making photographing wide views challenging to many. This is where and why it is always better to use a wide telephoto lens to capture wide views.
The Grand Canyon also offers many opportunities to click small-scale and detailed images. It's all thanks to the minute details of the bark, leaves, and rocks found in the Canyon foliage.
When maintaining color balance, do not use Auto-White Balance because it only ends up slightly dulling the walls' natural colors. Instead, you should opt to click photographs in Daylight mode as you can always switch back to the night or auto mode WB once the sun sets.
Clicking photos with a point-and-shoot camera needs a bit of planning. IT's because you get the best captures if your photographs contain both a foreground and background. So look for exciting foregrounds or backgrounds to add spice to the picture.
Examples are the twisting trunks and branches of the trees as the foreground on a layered Canyon wall background.
You can also alternatively try to compose a silhouette image using the help of shadows. Shooting in manual mode offers better control while shooting silhouettes. However, it's impossible to get shadows and light areas in proper exposure because there is too broad a contrast between them.
The most common question that crops to mind before leaving for your river trip is what camera gear to take along. You especially wonder about carrying your best camera.
While you want to get the best shots, there's always the worry about damaging or even wrecking your expensive DSLR camera.
There is no doubt a risk of you're damaging your camera during Grand Canyon river trips. However, the main reason you invested in the camera was for ultimate photography. So there's no point in the investment if you don't use it when you need it the most.
You will need to have extra memory cards on hand because there is so much to photograph!
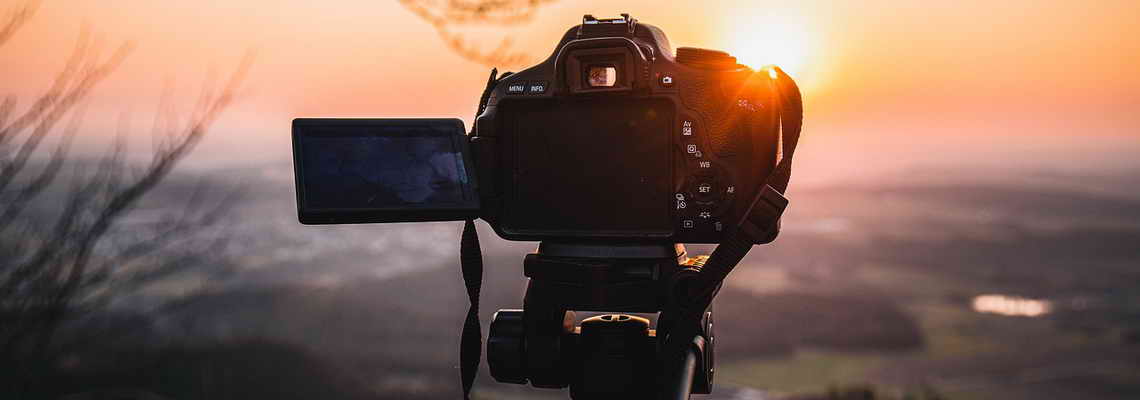
Tripods are no doubt a must. They help you slow the exposure and photo-taking process while giving you time to slow down and craft compositions instead of taking quick snapshots. However, they are best used in camp as they take some time to set up and are too heavy for daytime hikes.
There however is one helpful trick to remember while using the tripod. You need to click photographs by getting a slight elevation from the camp and looking down the river. The new perspective it reveals is a sight to behold!

Here are a few mistakes most first-time Grand Canyon photographers make, and you should avoid:
Practice, practice, practice
Last but not least, as always, practice makes perfect.
Nature photography is not something to be taken lightly. It is an art where you must master balancing your technical know-how with your aesthetic vision. So practice before heading out to click the Grand Canyon National Park photographs, especially the narrow slot canyons.
You need first to master the fundamentals before focusing on your artistic side. It's thus worth the time and effort of reading and understanding your manual. You also have to take as many images of your surroundings as possible.
You can also always look at other people's work to pick up a few tips and learn where you went wrong. Most importantly, remember that there is no secret or the best way to frame a shot. With practice, you develop your workflow and will be able to come up with your style and form.
Here are four common questions asked while taking photos of the Grand Canyon.
The best way to take photos while rafting is by enjoying it!
Do not get stressed or worried about clicking good photographs. Instead, relax and enjoy yourself because that's when you take the best shots. You can also flex your acting muscles to strike up exciting photography poses.
Or you can alternatively take images of your flexed muscles while paddling with a gusto. Wearing sunglasses along with your helmet and lifejacket looks incredible for your photos. And lastly, always keep your face visible to click shots of you in good light.
These four tips will help you take good pics of the Grand Canyon:
Yes, you can.
Pack light, but take everything you need to enjoy your Grand Canyon rafting trips.
It includes packing swimsuits, nylon shorts, t-shirts, sun hats or visors, and a two-piece rain suit. You can also carry strapped sunglasses and long-sleeved cotton shirts and pants for ultimate sun protection.