Book Now & Get Free Waterproof Gear Bag - Offer Ends Nov 3th!
Book Now & Get Free Waterproof Gear Bag - Offer Ends Nov 3th!
For millions of visitors, Bright Angel Trail hike has become one of the most famous hikes on the planet. A vertical mile, straight down. A rugged trip into a canyon wilderness. From Rim to canyon floor, from dawn to dusk, with each descending step you are walking back in time. So many visitors from so many cultures have set out on these paths, and if you opt for a partial canyon trip (upper or lower) so will you. Upper canyon trips with a hike up and out of the canyon via the bright angel trail. Lower canyon trips begin with a hike down and into the canyon via the Bright Angel Trail.
This hike is not easy by any means, and should be attempted by those in good to excellent physical shape. You should consider that you will be carrying a backpack weighing between 20-30lbs on your hike into or out of the canyon. While the duffel service is highly recommended it is only an option with select outfitter’s lower canyon trip itineraries, and ever fewer upper canyon trip itineraries. Average descent time from rim to river is between 4-6 hours. Average ascent time from river to rim is between 6-10 hours.
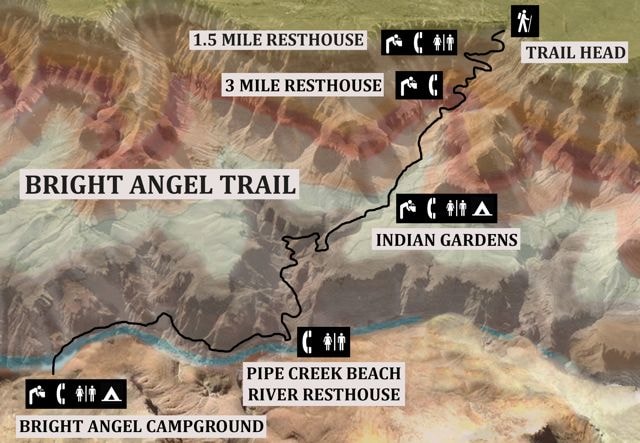
Click play for an actual look at the trail from a bird’s eye view. You will see where the hike will begin and end, as well as the location of toilets and drinking water facilities.
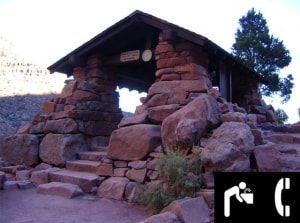
Be sure to take advantage of the water sources and rest-houses during your hike, as it is imperative to take breaks regularly. Between rim and river, there are three composting toilet locations (1.5 mile, Indian Gardens, river rest-house) and three water sources along the trail (1.5 mile, 3 mile, Indian Gardens).
Please note there is never potable water at river rest-house and due to occasional pipeline breaks, these water sources are never guaranteed. For this reason, it is recommended that you carry enough water (3 quarts minimum) for the entire hike.
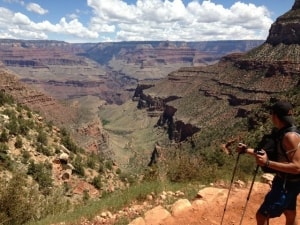
Upper Canyon trips/hiking up and out requires greater stamina/endurance and is more demanding on the heart and lungs. This route is easier on the joints but requires more muscular strength. An advantage is that you will already be acclimated to the dry canyon environment from your rafting adventure, and as you ascend you’ll be hiking out of the heat. The temperature at the rim is about 20 degrees cooler than at the bottom of the canyon. Trekking poles are highly recommended as they can significantly reduce the stress on your lower leg muscles/joints by distributing the weight to your upper body muscles.
Lower canyon trips while less taxing with regards to cardio, is much more strenuous on the ankles/knees/hips and calf muscles. There is a significant amount of abuse that your joints endure due to constant downhill trekking, especially when you include the additional weight from your day or backpack. This descent should be attempted by those who do not have major joint issues which can cause potential problems during this hike.
Note that you will be hiking into the heat. Depending on the time of year, the temperature at the rim can be in the upper 40’s and temperatures may reach 110 at the bottom. Trekking poles are highly recommended as they can significantly reduce the stress on your lower leg muscles/joints by distributing the weight to your upper body muscles. Focusing on strengthening your leg muscles (calves and quads) is a crucial part of a successful hike.
At least 2 months prior to your trip’s start date, begin using the stair master and hiking or using the treadmill with a slight incline. Slowly begin adding weight to your backpack in order to simulate what it will actually feel like on the hike. Keep in mind that you are traveling 1 vertical mile or close to 5,000ft in elevation gain/loss. 500 flights of stairs is equivalent to approx. 5,000 ft.


